The GPU without a doubt is one of the hottest components of your PC. It’s of utmost importance to deal with the heat on time before it literally burns up your system.
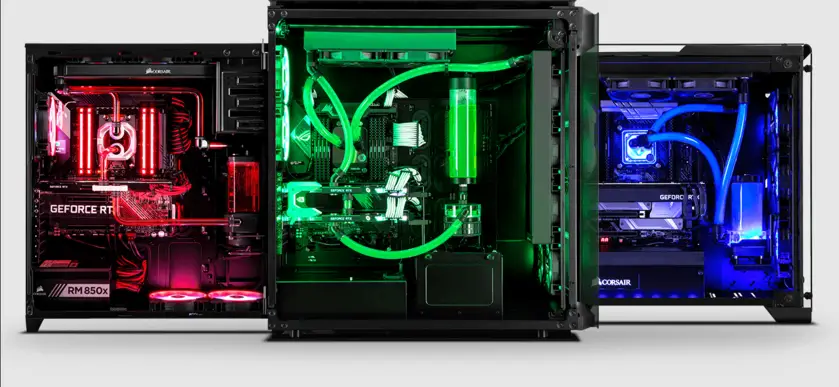
If you’re wondering how to liquid cool a GPU, then you can always choose to install a water cooler on your GPU. Installing a water cooler on your GPU is the most effective way to prevent GPU overheating. To install a water cooler on your GPU, here are all the steps involved.
1-Test Your Graphics Card
2-Disassembling Your Graphics Card
3-Cleaning The GPU
4-Take a Breather, Admire Your Graphics Card, and Tidy Up
5-Cut and Apply Thermal Pads and Thermal Paste
6- Place the Waterblock
Do you want to know how liquid cooling works? Then this is the right place for you. In this article, we are going to discuss the water block installation process for liquid cooling and go into the details about why it is important and how much difference it makes to the overall cooling.
So without further ado, let’s dig in.
How to Liquid Cool a GPU Using the Water Block System?
Reasons To Use Water Block Cooling For The GPU
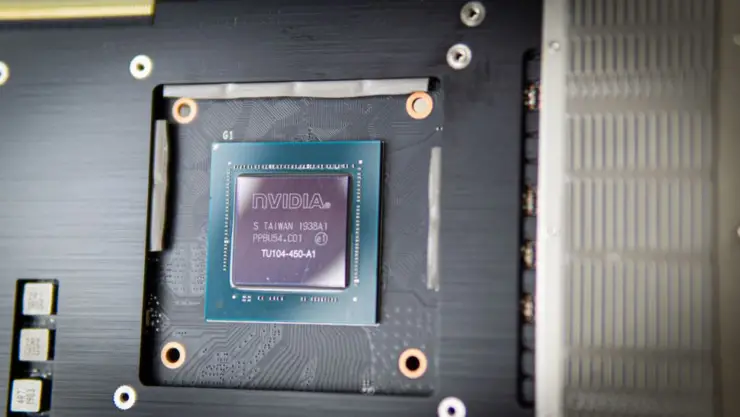
For starters, you need to understand how a GPU works before you get into the whole “how to liquid cool a GPU” process. A GPU has around billions of different transistors. In simpler words, there are several little switches that are either turned on or off.
A GPU operates when these switches change their states thousands of times within seconds. This of course takes up a large amount of electricity and ultimately it generates a lot of heat too. Not dealing with the heat on time can damage your GPU and your PC too. This is where water cooling comes in handy.
Usually, fan cooling is used to move the heat around and disperse it to bring down the temperature of the GPU. But there are two downsides to this method;
- First, the air doesn’t disperse the heat properly
- Secondly, fan cooling comes with quite a lot of noise
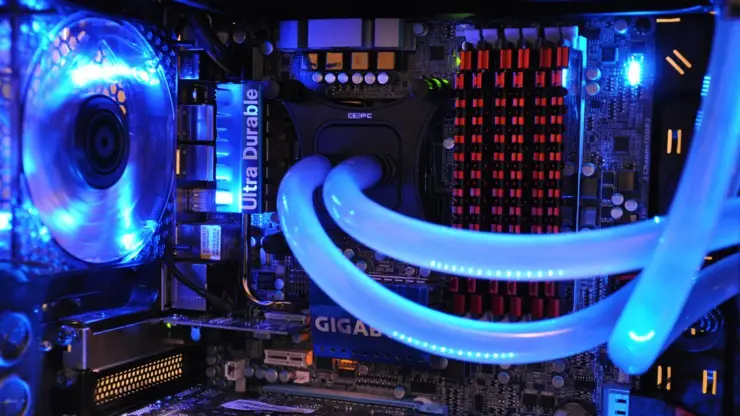
Water cooling on the other hand is a much more effective and efficient method as compared to fan cooling. As water comes with better thermal conductivity than air, it performs the task of dispersing the heat properly. Moreover, water coolers don’t create any noise which is why people prefer using this method to prevent the GPU from reaching critical temperatures.
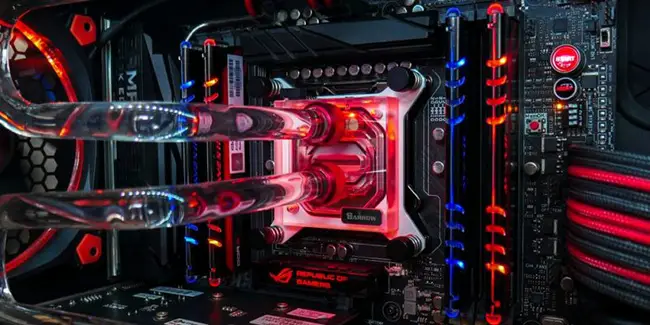
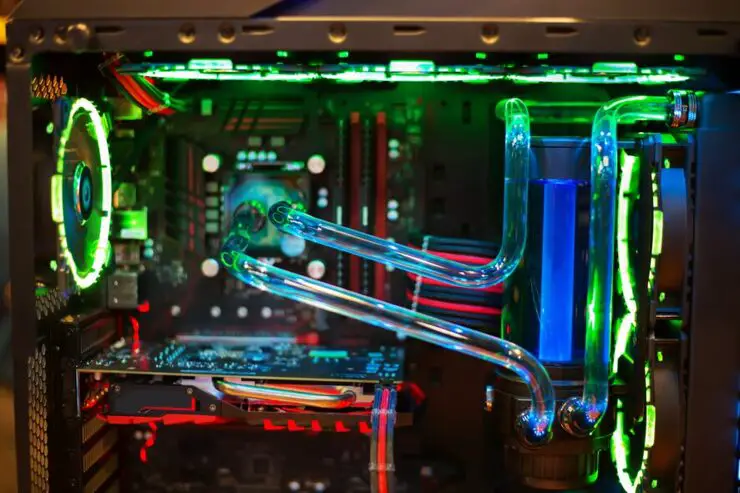
The Mechanics Of Water Block Cooling System
It’s true that water cooling is much more complex than fan cooling, especially because the setup is a bit complicated. However, the results are totally worth it! There are five main components involved in water cooling;
- Pump
- Reservoir
- Hoses
- Waterblocks
- Radiator
Along with these components, you’ll also require nuts and bolts to attach the water cooler with your GPU. The working of a water cooler is quite simple.
What happens is that the fluid flows through the pump from the reservoir. It’s then pushed towards the water block. The fluid then absorbs the heat from the GPU and goes straight to the radiator which is responsible for removing the heat from the fluid. Once the heat is absorbed, the fluid travels back to the reservoir and this circle keeps repeating when you are using your PC.
Water Block Cooler Installation-A Step By Step Guide How do I cool my GPU
Now that you know the answer to your question “How do I cool my GPU?”It’s time to learn about the installation process. Here’s a step by step guide you need to follow to install a water cooler on your GPU;
1-Test Your Graphics Card
The very first thing you need to do is to test your graphics card. Manufacturers usually don’t void their warranties when you replace the stock cooler with the water cooler. However, before you make the final move, you should still use some benchmarks to first run and check your GPU’s performance. Tools like GPU Z or MSI Afterburner can really come in handy for you here. With liquid cooling, you’ll see a huge drop in the temperature and your GPU’s performance will enhance too.
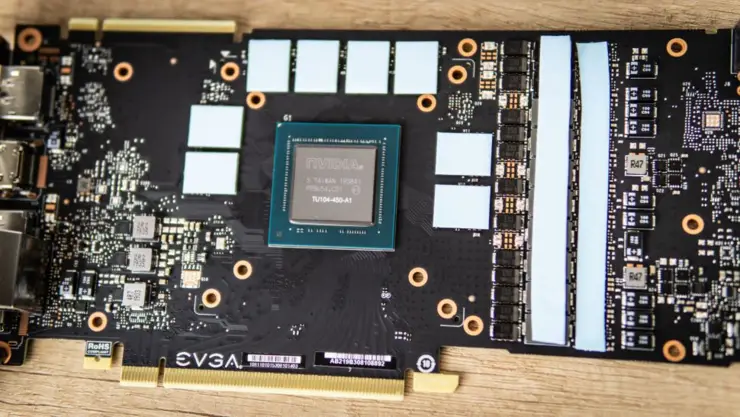
2-Disassembling Your Graphics Card
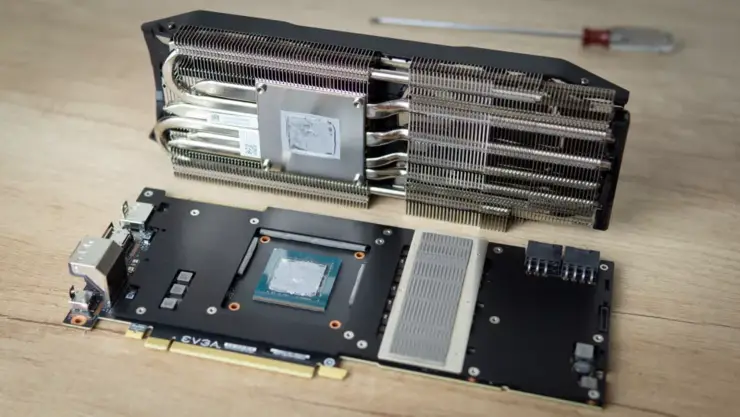
The next step of the process involves disassembling the graphics card. It might sound a little difficult but it’s not. All you have to do is to follow the instructions of the manufacturer because the cooling design differs from GPU to GPU. You have to check for different screws near the EVGA card and then remove them one by one. Make sure to place the screws somewhere safe so that later you can put them back without losing any.
Again, it depends on the manufacturer because some coolers pop off right away when you remove all the tiny screws and then there are some that require a little nudge. Moreover, if there aren’t any screws, the cooler is probably attached with thermal glue. To get rid of that glue, you have to use a little bit of heat and then slide the cooler slowly. It will come off immediately.
3-Cleaning The GPU
When you remove the cooler, you’ll probably see a lot of dirt, debris and thermal glue stuck on the GPU. Here, you have to use some q-tips, 99% isopropyl alcohol and a piece of cloth (lint-free) to clean the GPU properly. Chances are that when you detach the cooler, you’ll see how even the other electronics around have dirt and thermal paste on them. You should clean that too along with the GPU. Also, look for a cooling plate that’s usually between the cooler and the GPU. If you find one, remove it right away.
By the way, if you really want to learn about cleaning your GPU thoroughly, then feel free to check out our article on how to clean your GPU .
4-Take a Breather, Admire Your Graphics Card, and Tidy Up
You don’t get to disassemble the GPU everyday to install a water cooler. So when you sit for the first time, make sure to take a breather, admire the graphics card and then clean up the mess around you. This is the time when you have to get your water block ready for installation. To ensure that you’ve bought the right water block, it’s recommended that you perform a test run on it. Also, use the manual that comes along the water block so that you know how to install it on your GPU model.
5-Cut and Apply Thermal Pads and Thermal Paste
There are thermal pads that come along the water block and their purpose of being is to keep the VRM circuitry and the memory cool. These little pads will probably be pre-cut so you just have to use a pair of tweezers to put them into place. The best thing to do is to use the manual that comes with the water block. A lot of your questions and concerns regarding the installation process will come to an end when you read the manual carefully.
You’ll also have to use a little thermal paste on the card. The paste usually comes with the waterblock so after placing the thermal pads, you have to put a little amount of the paste on the center of the card. You don’t have to worry about spreading it because that will automatically happen when you tighten the watercooler against the GPU.
6- Place the Waterblock
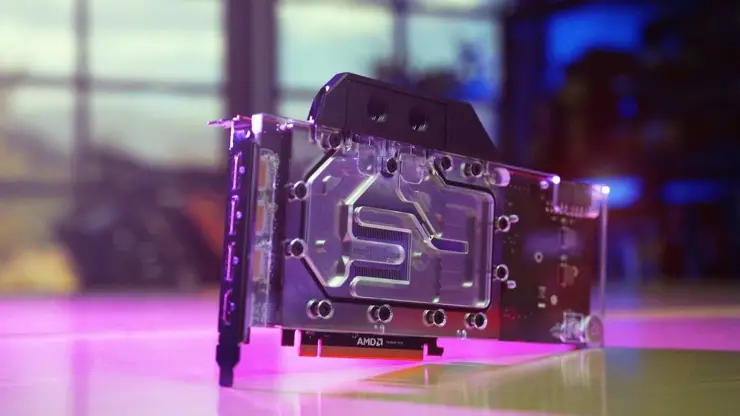
The last step of the process is just about placing the water block on to the GPU. Just make sure to bring it on the same level as your card first so that it can push the card a bit and spread the thermal paste. Once done, you can now easily put all the screws back where they were in the first place and you are all set to go!
Conclusion
Is a water cooling GPU worth it? Well, the simple answer to it is “yes, it’s totally worth it!”. You can definitely opt for the easier fan cooling method but it’s noisy and it doesn’t always work. Water cooling is the best and the most effective method to keep the temperature of your GPU down.
Especially if you have to use your system to play GPU intensive games or use heavy software that rely on the graphics card then you need to install a water block right away. It can boost your performance by leaps and bounds and give you the kind of seamless experience that you’ve been looking for.
Frequently Ask Question
Is Liquid Cooling Better Than Fan Cooling?
Yes liquid cooling is way better than fan cooling because air is not so effective when it comes to dispersing the GPUs heat. Moreover, fan cooling comes with a lot of noise that becomes unbearable at times.
How Do I Know If I Need Liquid Cooling For My GPU?
Everyone requires a liquid cooler for his GPU. Especially if you perform tasks on your PC or play games that take up a lot of the GPUs energy then you need to install a water cooler for optimal performance.
What Are Some Common GPU Overheating Symptoms?
If you experience sudden crashes and if your programs shut down without any reason then this is a sign that your GPU is overheated. Not just this but when the GPU is catching up heat, you’ll experience lag in your games and the performance will become poorer with time.
Is A Water Cooler Expensive?
Installing a water block on your GPU won’t cost you a fortune. It’s an affordable solution to keep your GPU alive and working for a long time.
How Much Time Does It Take To Install A Water Block?
It will hardly take you 20 to 30 minutes to install the water block on your GPU.